Winter Warmer is based on an 18th Century Wassail which means that every batch changes a little bit based on the available ingredients and our taste that year.
Unlike other meads in our Ancient Collection, like Vanir, Winter Warmer is a fairly forgiving mead for the beginning homebrewer since the spices in the secondary will help cover up some (not all) issues from the high alcohol primary fermentation.
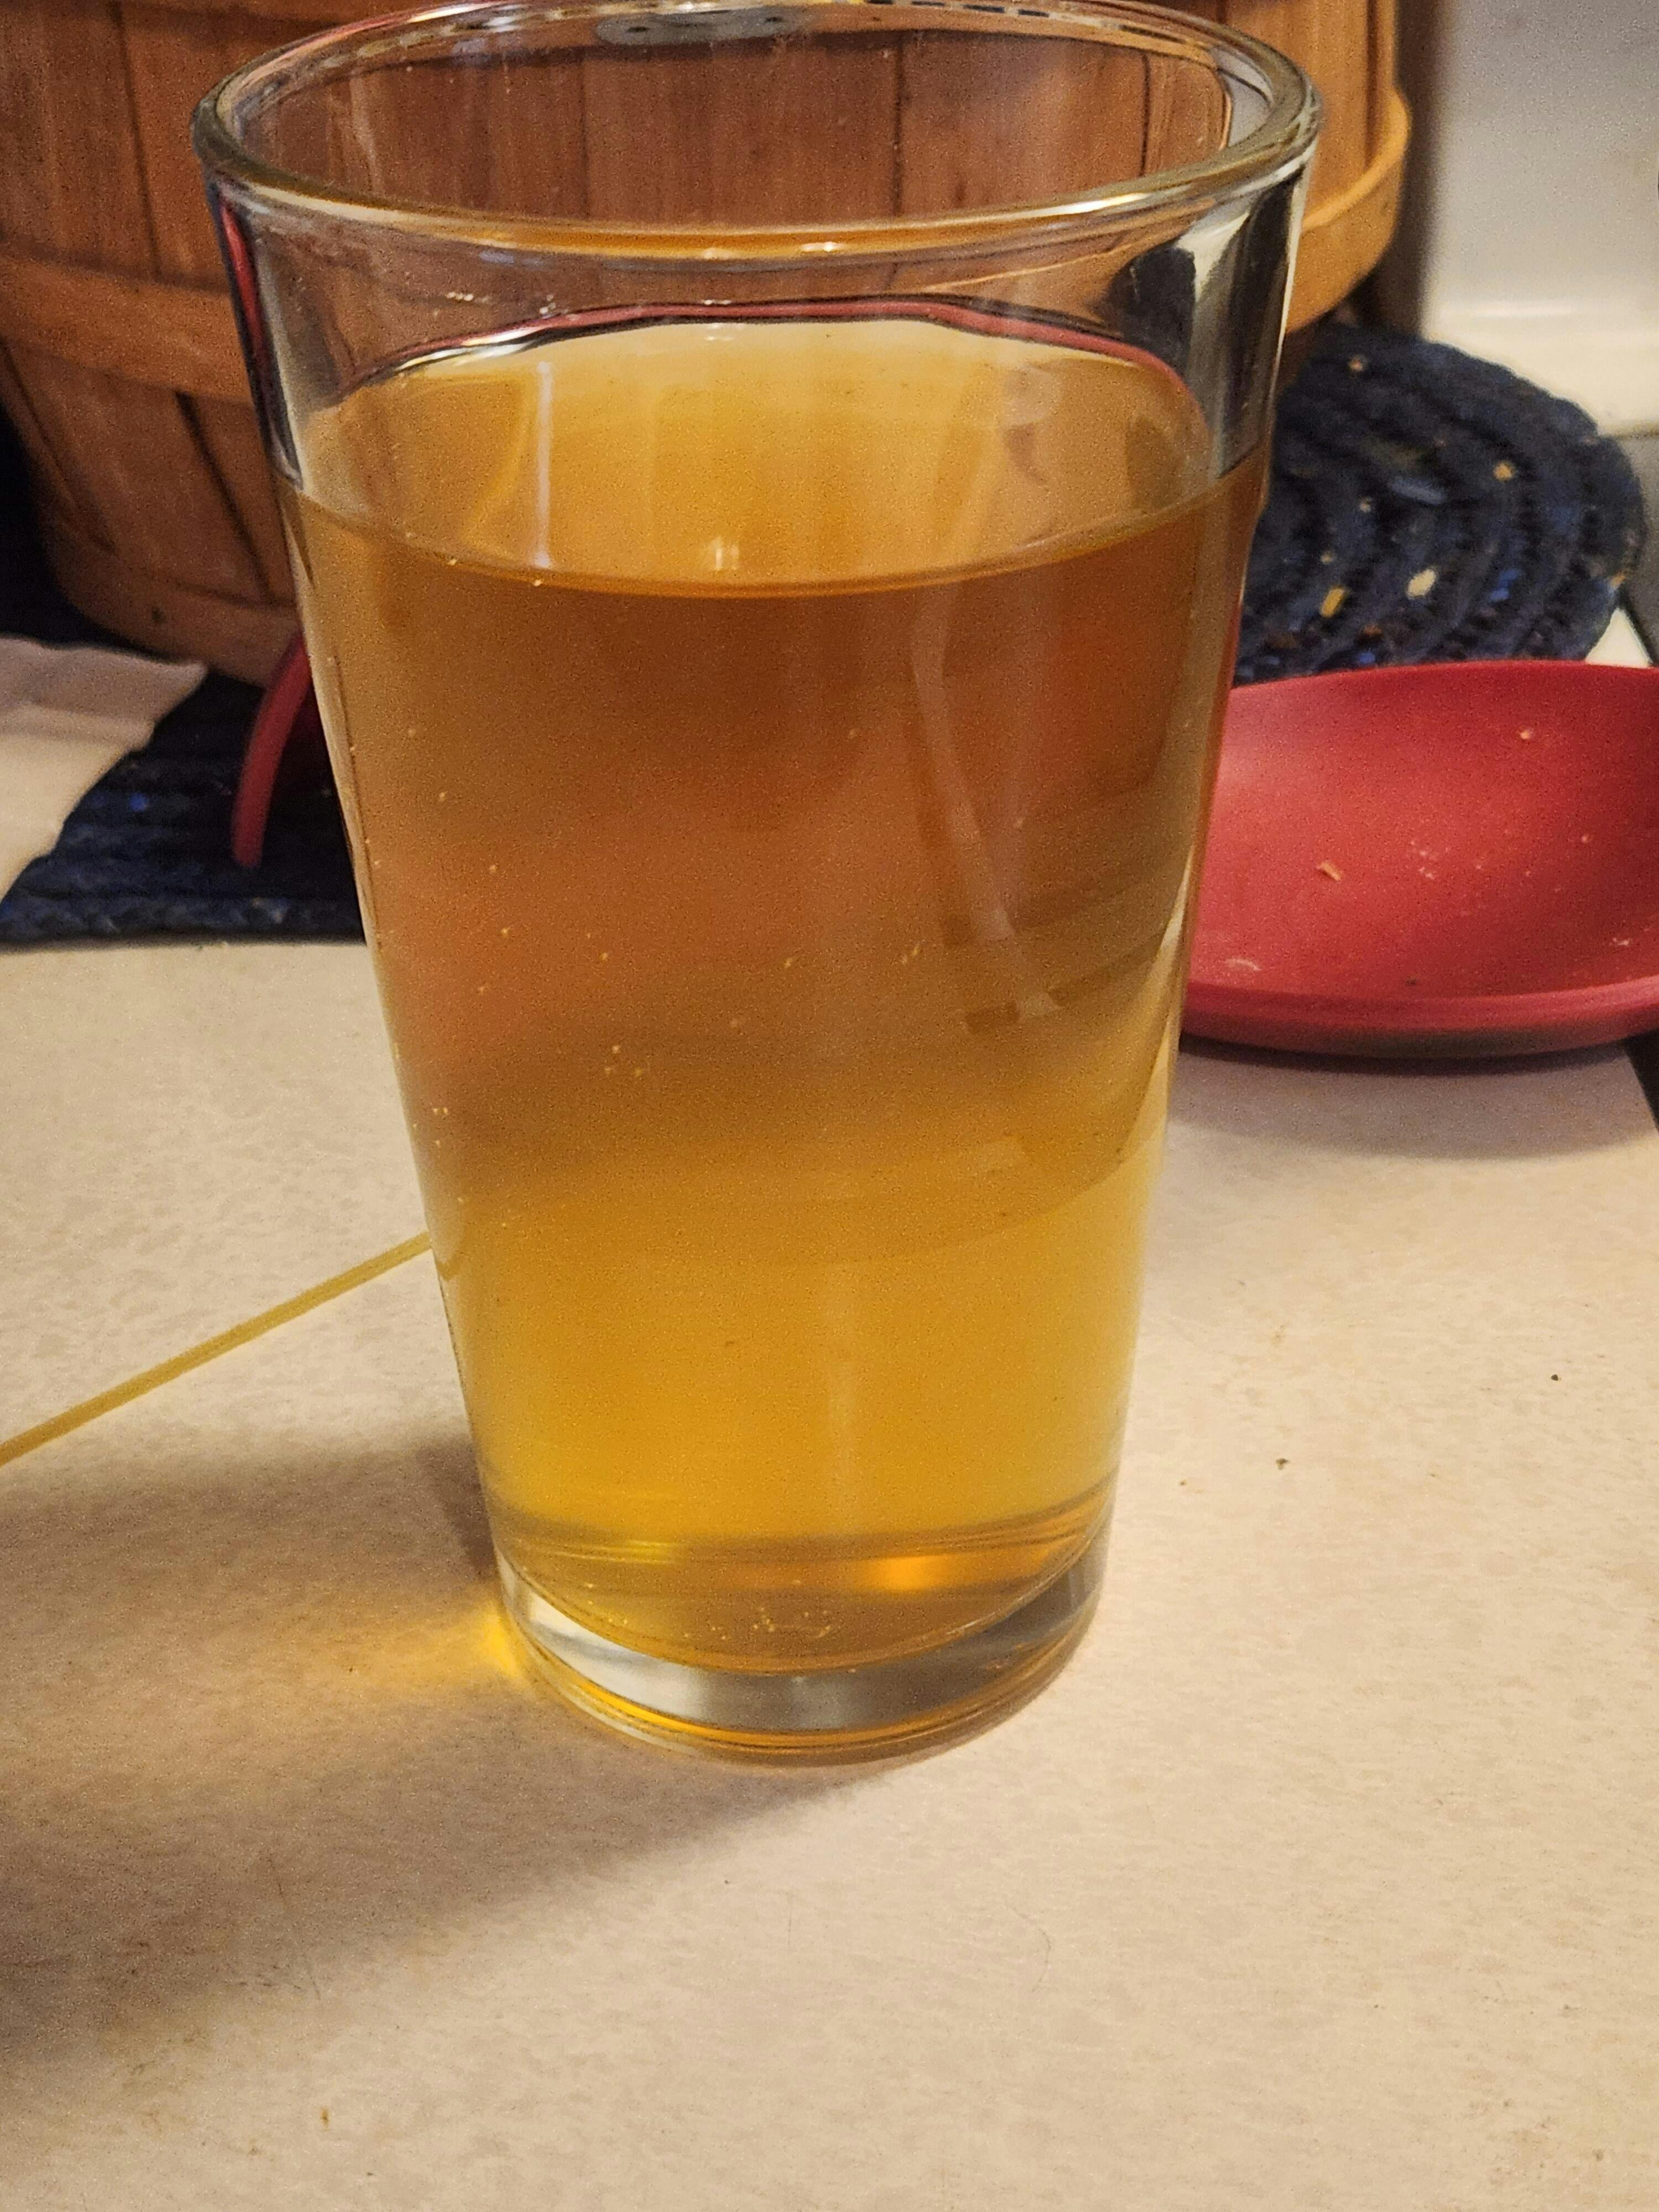
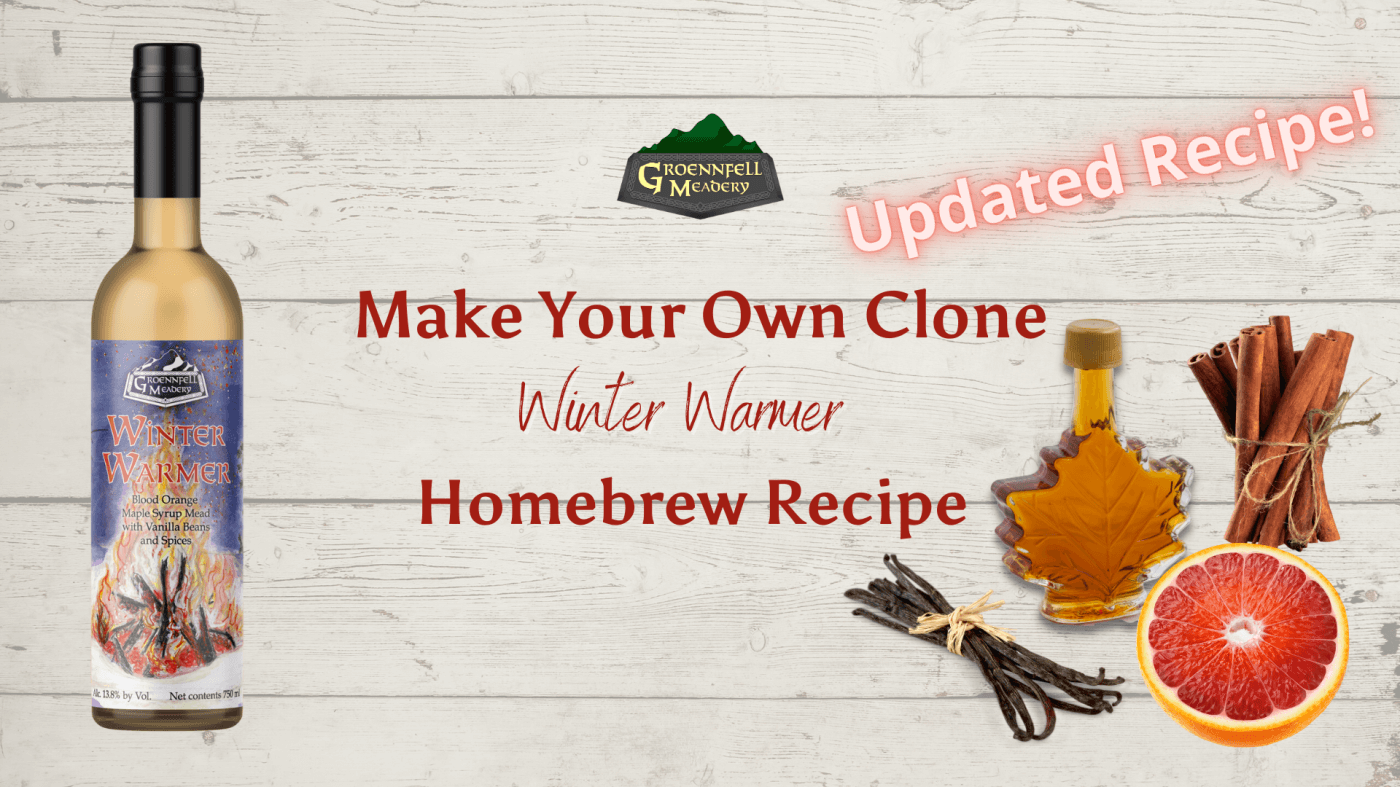
Winter Warmer Mead Clone Recipe
5 Gallon/19L
OG = 1.100
FG = .996
ABV = 12.9% abv.
Ingredients:
- 12 lbs Raw Wildflower Honey
- 2 Cups Orange Juice
- 1 Cup Chopped Raisins
- 4.5 Gallons Water
- 1 oz. Wyeast Wine Yeast Nutrient
- 5 packets Lalvin D-47 yeast
- 5 packets Lalvin DV-10 yeast
- 2 Cinnamon Sticks
- 6-10 Cloves
- 6-8 Cardamom Pods
- A few shavings of Nutmeg
- 1 Cup of VSOP Brandy
Before getting into the directions, the first thing you might notice is that there's no sulfites listed. With a mead of this alcohol content and complexity, we highly recommend that you allow the wild yeast to participate in the fermentation. The cultivated yeast you add will perform the bulk of the fermentation, but the wild yeast will bring a lot of complexity.
Some level of temperature control is very helpful for higher gravity batches. A consistent fermentation temperature above 80°F and below 90°F will provide a nice, clean fermentation without stalling.
The fermentation usually completes with only D-47 and DV-10 if you get your timing right, but it's nice to have a backup like a distiller's strain if you care about hitting that target final gravity.
Recipe:
- Combine the honey, orange juice, raison, water, and yeast nutrient around 96-102°F (39°C)
- Wait until the temperature has dropped to 86°F (30°C)
- Add the D-47 Yeast following the hydration instructions on the package
- Twice daily shake your bucket to knock CO2 out of solution and rouse the yeast back up until the gravity is around 1.032. Depending on your fermentation conditions, this can take anywhere from 5 to 20 days.
- Add the DV-10 as per the instructions on the packet as well as all of the spices.
- Allow to finish and rest on the yeast for at least one week.
- Add the Brandy.
- Rack and degas. (This is the process of removing all the bubbles that stay in solution after fermentation.)
- Rack and bottle or keg whenever you feel it's ready.
Some folks like their strong meads a little sweeter. If this is the case, you can allow the D-47 to run to completion and leave out the other yeast. We highly recommend that you sulfite and sorbate your mead if it's going to have substantial residual sweetness.
There are also options to batch/bottle pasteurize, but if that's your thing, you probably already know how to do it!